


The kids helped me build and paint a castle made out of cardboard. We got a giant refrigerator box from an appliance store and drew windows and a giant door on it. Then I drew squares on the top of it to make it look like the top of a castle. I used a box cutter to cut them all out. I was running low on paint or I would have left the windows in and made them where you could open and close them. I thought about putting little curtains in, but I ran out of time. I first tried spray paint, but the box absorbed the paint quickly and one whole can only covered one side of the box, and not very well at that. So, I bought regular water-based paint and mixed together black and white to get the grey color that I wanted. It went on easily, it was much cheaper and the kids were able to help me. Plus, while I finished the outside of the castle, they decorated the inside with whatever color they wanted. I left the door attatched at the bottom and layed it down on the floor. I painted only the inside of it. Emma and I used black construction paper and made chain links. We attatched them to the "door" and the side of the castle and made it look like a draw bridge.


And at the party, I put washable markers inside the castle and the kids were able to draw whatever they wanted.

Next was the menu. Emma helped me plan that as well. We used her favorite foods (healthy and junk) and dressed them up a little bit. I made sugar cookies in the shapes of hearts and stars and put skewer sticks in them while they were still warm to make them look like magic wands. Ideally, I would have iced them in pretty colors and tied ribbons around them. But, I just didn't have time to do everything I would have liked to do.

And I made chocolate covered strawberries.

We also did a Cinderella "pumpkin patch". I hollowed out a pumpkin and let it dry out. Then put a spinach and yogurt dip inside it. We surrounded it with cucumbers and carrot sticks as well as little pumpkins for decoration. And we used the Polly Pocket sized Cinderella and mice to set up in front of it. It turned out really cute. I put foam letters in little pink and blue boxes behind it with Emma's name spelled out to tie it in with the colors she had picked for the party.

We also had pink koolaid in a punch bowl for drinks and "Yes,Yes" cheese puffs (the Paraguayan version of Cheetos), because no party in Paraguay is complete without "Yes,Yes". And then I made tons of little sandwiches out of peanut butter and jelly, ham and cheese and cream cheese with strawberry jelly.
The tables were set for a banquet feast beside of the castle.

I found these great little hard plastic plates that resembled real china and painted around the edges "Princess or Prince" and then each child's name (it was all in spanish, of course). Then they had little plastic goblets with their names on them as well. I loved this idea because we knew which plate and cup everyone had been using, they looked adorable and then they got to take them home with them as part of their party gift!


And then for the most important menu item, we had a Cinderella cake! We used a Cinderella barbie doll for the upper body, and then her dress was the cake. My friend Andrea made most of it. Together we made the actual cake part by using three round cake pans and a big bowl that could be used for baking. It was a homemade strawberry cake. Then for the icing, we did a cream cheese icing and colored it blue. We had some problems with getting it the right color to match the dress on the doll, but Andrea eventually got it to the right color and consistency. We layered the three round cakes for the bottom of the dress and then sat the bowl cake on top, upside-down and cut around it so they would be even. The bowl cake had to have a hole cut into the middle of it for the doll. I made the cakes a few days ahead of time and then froze them. So, the day of the party I just took them out of the freezer in the morning and Andrea was able to ice and decorate it right at party time. She took the doll and wrapped it from waste down in saran wrap to keep her from getting caked or iced! (This was a big concern for Emma since she had gotten it for her birthday). Then she iced the cake and put ribbon around the seam to cover it up. Then added two pieces of shimmery fabric with a hot glue gun that we had bought and cut to look like part of her dress. Then she added an additional bow around that and tied it in the back. And voila- a beautiful Cinderella cake! And it was really yummy too!


As for entertainment, I surfed online for ideas and then Emma picked out which activities she wanted out of those. First and foremost, she wanted face painting. Two of the teenage girls from church helped me out with that. All the girls stood in line to get their faces (even some arms) painted.

Emma loves crafts, so we set up a craft table where they could color pictures of Cinderella that I had printed out, make candy and fruit loop cereal bracelets and/or necklaces, and make dresses for their barbie dolls using scrap craft material (I had asked them to bring their favorite doll on the invitation). The moms had to help with the dress making, but it was a big hit!


We also had a Princess pinata. It is common to have a giant balloon as a pinata,but Emma said she didn't like that loud popping sound when it busted, so we opted for the pretty princess one that you just pulled the string and all the goodies fell out!

And then we also had a puzzle table. I printed out several pictures with Cinderella characters and put each one on a different color piece of construction paper. Emma helped me glue them and then we cut them into puzzle pieces.

And then, of course, we opened gifts and blew out the candle so we could eat the cake!

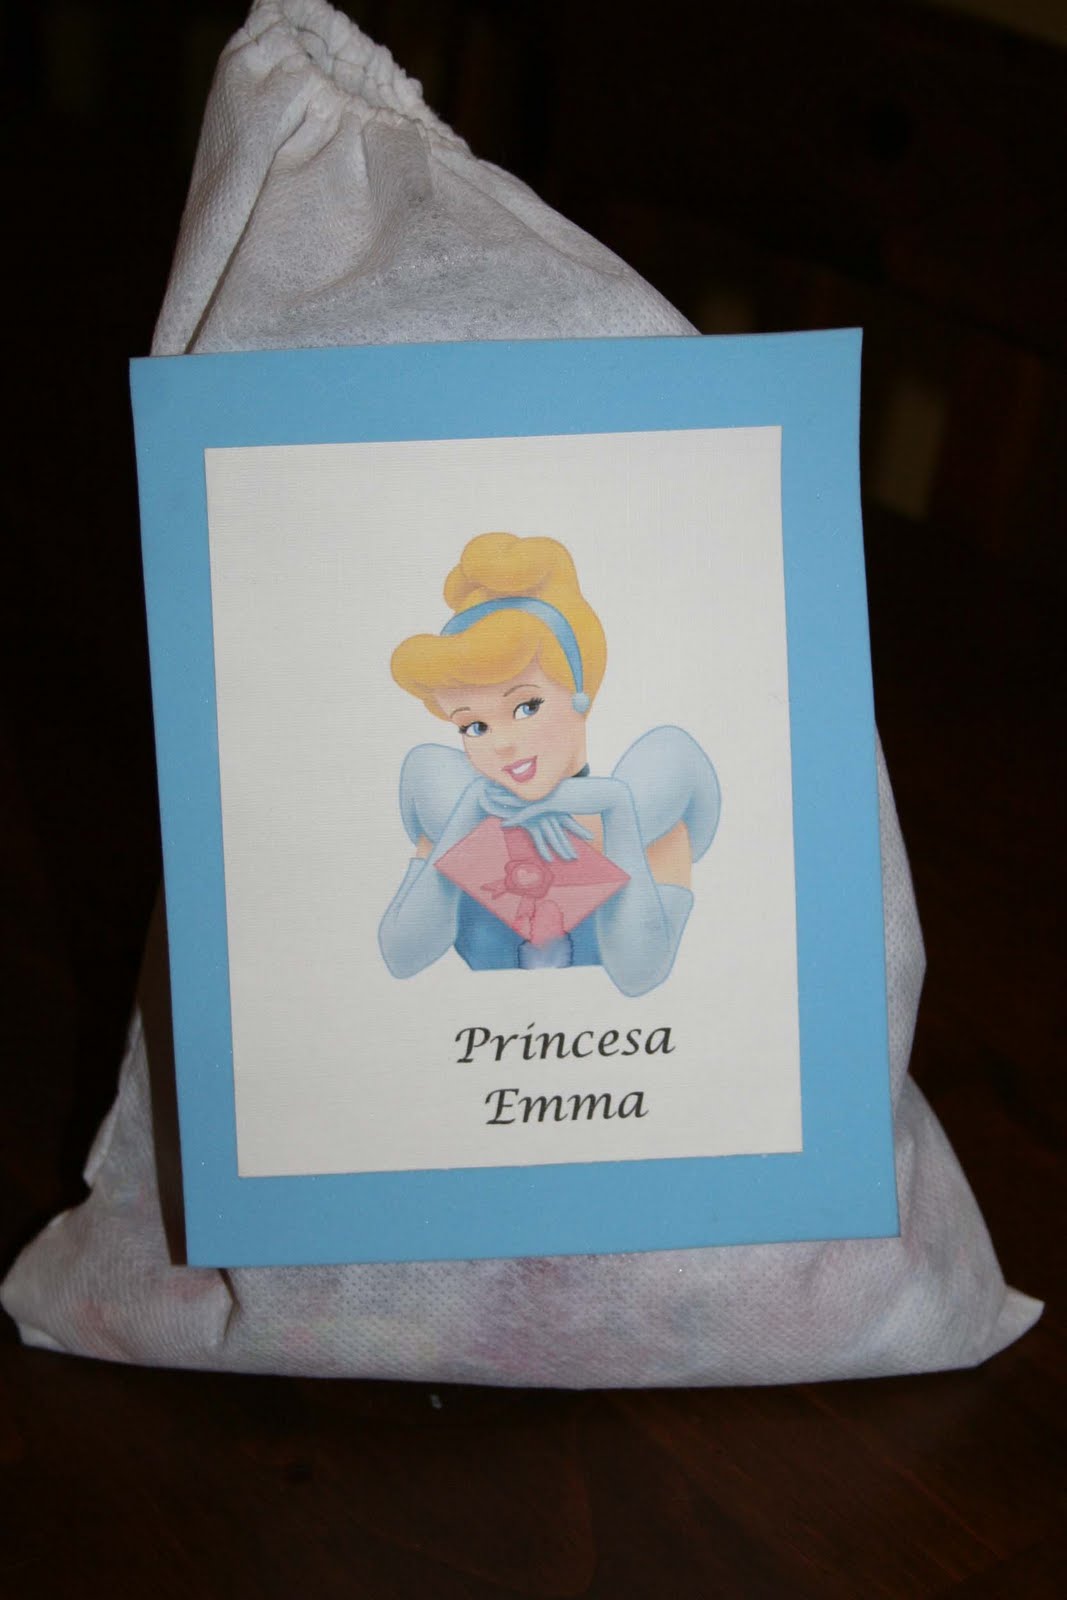
And to end the party, we gave out the party bags. I bought pre-made little cloth gift bags and then printed out Cinderella for the girls and Prince Charming for the boys and personalized each bag. Emma helped me glue the print-outs onto some blue foam paper and then glue them to the bags.

In the bags for the girls were crowns and magic wands, a coloring book that I made from downloadable coloring pages and activity pages, and a Cinderella paper doll set I found online that I printed on magnet paper. (Emma has loved playing with this on the refrigerator and even on the dishwasher) The gift bags for the boys had swords and coloring books. Plus, they all got to take their personalized plates and goblets home.

I really did not do a lot of decorating. We just blew up tons of balloons and had them floating around in the floor and I let the castle and the tables be the decorations. I put little balloon bouquets on the tables and that was it.
Overall, it was a lot of work. But at the end of the night, Emma could not stop talking about how much she loved her Cinderella birthday party. That made it all worth it! And we actually got to spend a lot of time together working on the crafts and planning it all out.
Here are all of the websites that I found helpful for ideas and planning:
http://www.4kraftykidz.com/ (this one was very complete!)
http://www.printactivities.com/

What great ideas! And a LOT of hard work. Bless your heart! But I know everyone enjoyed it, especially the birthday girl - and it will make an awesome memory for her! I just wish Ella and Ava could have been there!
ReplyDeleteWow, Vickie, this all looks fantastic! Granted, it wears me out just reading about it, but I know you've made a special memory that your kids will never, never forget. You ought to go publish this info on one of those sites where people share birthday party planning ideas.
ReplyDelete